How to fix underextrusion
Share
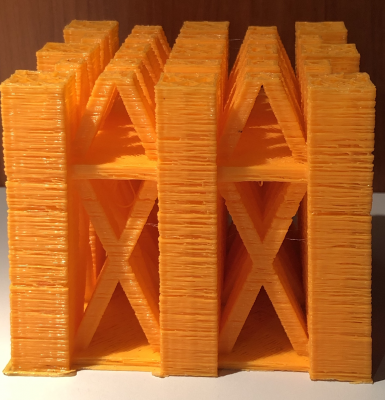
Underextrusion affects your parts strength as well as its aesthetic. If your prints look like they aren't completely solid or there are gaps between plastic where there shouldn't be, then underextrusion is a likely the write diagnosis for your issue.

Here are some things to check in order to fix underextrusion in your 3D prints:
- Extrusion multiplier: Increase the extrusion multiplier in your 3D printer's slicer to increase extrusion rates across the board. This is the simplest fix, and it can work, but it may not actually address the root cause of this problem.
- Filament diameter: Ensure that the filament diameter is consistent and matches the diameter setting in your slicer. Your slicer calculates the extruder motor's turn rate based upon how much material the extruder pushes out per turn of the motor. If the real filament diameter is smaller than it's expected to be, the 3D printer will not extrude enough material.
- Nozzle blockages: Check if there are any blockages in the nozzle that may be preventing ideal extrusion. The best way to check is to simply clear the nozzle using a needle or a nozzle cleaning kit. It is best to push the molten plastic in the same direction you extrude it if that's possible with your extruder. Be sure that you do not push filament in so deeply that it goes into the cold break, because it will be hard to get rid of the solidified plastic in the heat break, but it can be done by heating the heat break with a soldering iron or similar.
- Motor clicking sounds: If the extruder motor makes a clicking sound, that's a sure sign that it cannot provide enough torque to push the filament through the nozzle. The extruder motor should be strong enough to push filament through the nozzle if the rest of your setup is good, so the extruder motor itself shouldn't be the root cause of the issue. You can potentially solve the issue by upgrading the motor to one with higher torque, but be sure the new motor's connector pinout matches that of your current motor.
- Extruder gear: If the extrusion gear is too tight, it can cause the filament to grind (you'll see plastic powder near the gear) or the friction against the bearings to require more torque. If the extrusion gear is too loose, the gear won't grip the filament well and won't provide enough force to push the filament through the nozzle. Many extruders offer the option to tighter or loosen the extruder gear's grip on the filament by turning a screw that increases compression of a spring near the extruder gear.
- Filament spool: Make sure that the filament is not tangled or knotted on the spool. Also make sure that the spool itself is easily able to rotate as the filament is pulled through the extruder. Any resistance to pulling the filament makes the extruder work harder and potentially not perform as well as optimal.
- Extrusion temperature: Check to make sure that the extrusion temperature is set correctly for the filament material being used. For example, if you try to print PETG or ABS and accidently use PLA printing temperatures (too low), you will get underextrusion. Also, watch the measured nozzle temperature while your printer is printing. Sometimes 3D printers PID settings are off (causing temperature fluctuations or failure to reach set point) or the hotend heater isn't strong enough to melt the plastic fast enough. The latter possibility leads into our next fix.
- Printing speed: Slow your printing speed to allow the filament more time to melt and extrude properly. Slowing your printing speed will simultaneously make it easier for your extruder motor and your hotend heater to keep up.
After trying all of these fixes, please leave a comment if you are still unable to fix your underextrusion. If you know of other fixes please drop those in the comments as well!
