
How to pick a 3D printer
Choosing an FDM 3D printer can be a daunting process, but we’ll try to make 3D printers simple to understand. We won’t recommend a 3D printer, but instead let you know what to look for to ensure you get a 3D printer that is fast, capable, easy to use, and easy to maintain. We’ll do this by dissecting the 3D printer into options and components and consider each one at a time.
First, let’s talk about 3D printer kinematics, structure, and powertrain. There are several types of FDM 3D printers, but I’ll narrow it down to the three most common: cartesian, delta, and coreXY.

Cartesian 3D printers are the most popular and includes models like the Prusa Mk3 and the Lulzbot Taz line of printers. Their defining feature is the fact that each motor affects motion in only one dimension. The structure typically includes a gantry system and motion is produced in the z direction with lead screws, and belts provide motion in x and y. The power transmission of this type is seldom an issue, but it is important to make sure the belts are the correct tautness, and the gantry is in alignment on the lead screws. The gantry structure is also not especially stiff (depending greatly on the bracket design) and can thus cause jitter at higher print speeds.

Delta 3D printers are known for speed, but can have trouble with dimensional accuracy, because the kinematics are more complex. The complex kinematics also require a more powerful microcontroller to obtain speeds made possible by the low mass print head, or else the microcontroller calculations lag the physical motion of the system. Deltas use the longest bowden tubes and thus exhibit the most oozing, stringing, and extrusion control issues. Many of the Delta’s problems are theoretically fixable with faster microcontrollers and smarter algorithms that take into account the filament pressure buildup caused by the bowden tube system.

CoreXY printers have gained in popularity over the past several years due to the promise of high speeds made possible by moving only the print head (low mass) on each layer and moving the print bed (massive) only during z motions which can be done relatively slowly without sacrificing overall printing speed, and some coreXY printers don't move the bed at all! The box structure around a coreXY printer is also very stiff and dimensionally stable which is conducive to high-speed printing. CoreXY printers have a complex belt system for power transmission that can cause issues because the long belt is mechanically compliant and can sometimes fall out of the stepper gears or stretch during a print and cause visible layer lines. There are workarounds for these issues, and you can find high-speed and print quality machines like the Ratrig of Voron DIY kits.
Probably the biggest factor that affects the price of 3D printers is the print volume. This is the volume that your 3D print must fit within in order for you to be able to 3D print it. It is important to note that just because a 3D printer has a given build volume, that does not mean you will be able to use that build volume for every print and every filament material type. 3D printing issues like warping and curling become more challenging as 3D prints become larger. An enclosure around the printer helps with these issues. The enclosure can be as simple as a cardboard box (fair warning: 3D printers rarely catch on fire). Also, you will likely discover that prints do not adhere well to a portion of the bed. For the best bed adhesion with PLA, PETG, and ABS, we recommend looking for a printer with a PEI sheet or at least PEI coating.
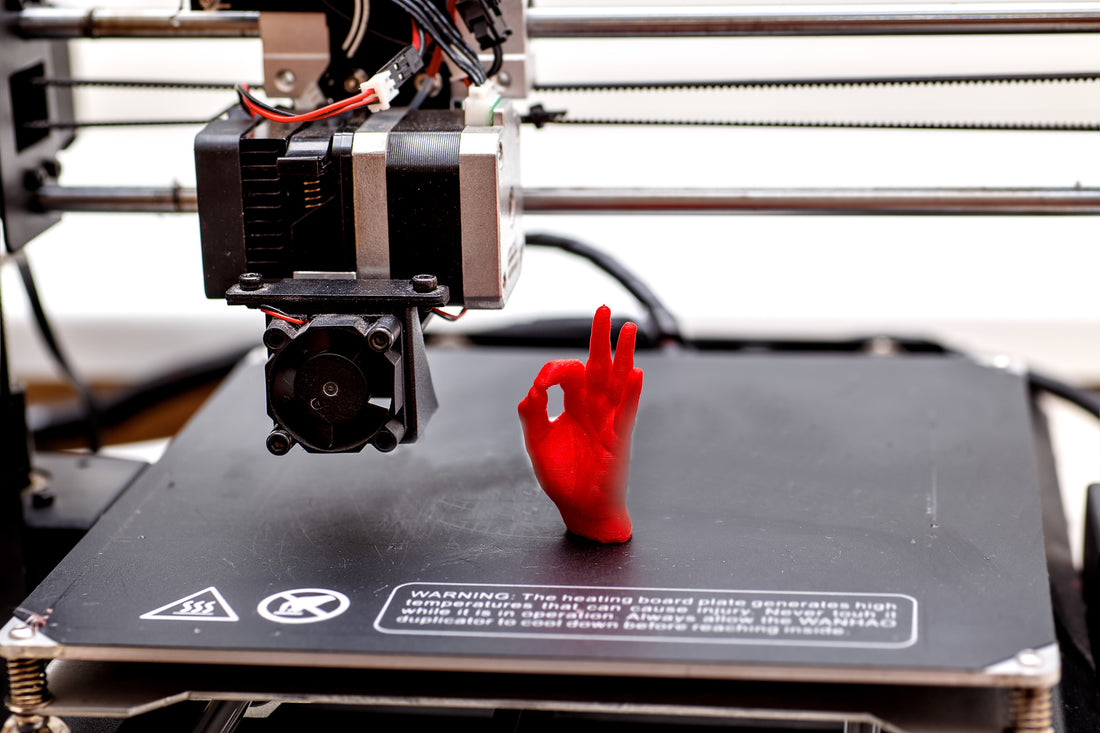
Next, let’s look at the extruder and hot end which together make up the subsystem that most impacts 3D printing speed and quality. There are two alternatives for this combo: 1) a bowden system that has a separate extruder, bowden tube, and hot end, and 2) a direct drive system that integrates them all into one package.
The bowden option separates the extruder from the hot end and guides the filament from the extruder to the hot end with the bowden tube. This setup has a lighter print head (just the hot end and carriage) that can move around quicker without shaking the 3D printer resulting in faster prints. However, the separation between the hot end and the extruder reduces the printer’s control over its extrusion, so issues like oozing, stringing, and inconsistent extrusion become more challenging. A bowden system is generally easier to maintain (because it’s easier to get at the extruder & hot end separately) and less prone to failure caused by filament grinding.

The direct drive setup has an integrated extruder and hot end. This results in much better extrusion control which is crucial for print quality, but makes the print head more massive which can cause jitter effects to show up at lower print speeds. A direct drive setup is also more difficult to repair since it often requires taking apart the extruder and the hot end in order to get to the issue. All together, it is generally agreed that direct drive systems are superior for cartesian 3D printers, and bowden systems are superior for delta 3D printers.
Next let’s look at the extruder. Whether you’re using a direct drive or a bowden system, the extruder’s main function is to push filament into the hot end. The extruder has two main failure modes: 1) losing traction after grinding into 3D printer filament, and 2) the extruder motor skipping a step due to excessive loads. A dual gear extrusion system helps mitigate the risk of grinding into filament by increasing the area over which the gears press, and it is an important recent advancement in 3D printing technology. To minimize the likelihood of the extruder motor skipping a step, you want to look for an extruder with gear ratios that make the extruder steps more precise and increase the maximum force reacted against the filament.
Next up is the hot end. The hot end’s primary job is to melt plastic where it’s supposed to melt (in the heated block and down) and prevent it from melting where it isn’t (in the heat break and up). The most common maintenance you will have to perform on your machine will probably be removing a clog from the hot end. A good hot end has a powerful heater (typical heater powers range from 30 to 80W), a thick heated block (to maximize heat transfer from the block to the filament), a heat break with a very thin cross section (to prevent filament melting in the heat break) and part cooling vents that point directly at the nozzle. The hot end also includes your 3D printer’s nozzle. A large nozzle hole diameter increases the maximum extrusion rate, maximum layer height, and maximum layer width, but also decreases the likelihood of a clog and decreases the 3D prints’ surface quality (greater surface roughness). Nozzles are cheap and considered expendable items, so they are easy to replace and customize. Just make sure you update the settings in your slicer and make sure you don’t run a gcode for one nozzle size while another size is installed. The nozzle diameters range from 0.1mm to 2mm, but most people just use 0.4 - 0.6mm nozzles.
The bed leveling system is very important for the ease of use of a 3D printer. There are two major categories: manual leveling and auto bed leveling. Manual bed leveling systems involve turning screws on the four corners of the bed while the printer puts down the first layer until the print bed is tram (also called level) with the motion of the print head. You can tell it is tram by looking at the lines that are put down by the print bed. Manual bed leveling requires that you wait for the print to start and watch it put down some of the first layer. This can take around 10 minutes per 3D print if your bed requires tramming (also called leveling) every time you 3D print something.
Auto bed leveling is a nice feature that involves a sensor taking measurements around the bed so that the printer knows where the bed is located. Even with auto bed leveling systems, it’s common for you to have to z-step the bed to get it into final alignment. There are several types of sensors that are used for leveling the bed: a strain gauge sensor, inductive sensor, capacitive sensor, and continuity sensor. I have listed them there in the order of our preference with a strain gauge sensor being the best option.
Finally, you may want to consider the control board and the firmware that runs the 3D printer. Firmware is the computer program that is flashed onto a microcontroller. Open-source firmware called Marlin on a 16-bit arduino board was essentially standard for a years, but more recently, companies have taken Marlin and modified it to their liking (often ignoring the terms of use of the software by making it closed-source) and new options have popped up like Duet3D (board and firmware) and Klipper firmware on a Raspberry Pi. Both of these latter options provide a more sophisticated interface that includes remote camera monitoring of the 3D printer and controlling the printer over wifi. Duet3D and Klipper also make it easier to change firmware settings which can be a big help if you like to tinker and upgrade your 3D printer.
Overall, there is a great deal of hidden variety within 3D printer options, and all options come with different advantages, disadvantages, and price tags. Before buying any 3D printer, I highly recommend looking at as many reviews of that particular 3D printer as possible, and consider those reviews through the lens of what makes a 3D printer greater. Finally, I would like to encourage you to buy your 3D printer from countries with governments that are not antithetical to your belief system, because supply chains matter, and your purchase does have the incidental effect of strengthening the supply chain and geopolitical power of the ruling class of that country.
1 comment
This article provides a valuable resource for anyone looking to pick a 3D printer that meets their specific needs. With so many options available in the market, it can be overwhelming to make an informed decision without the right guidance. We appreciate the author’s effort to simplify the selection process by breaking down the different factors to consider and providing practical tips on how to evaluate different models. By sharing their expertise in this area, this article is empowering individuals to make informed decisions and choose a 3D printer that suits their unique requirements. We thank the author for their contribution to the conversation on 3D printing and their efforts to make this technology accessible to everyone.